Kiwifruit using Blender
In this post, I want to talk about creating kiwfruit using Blender. I think the results are very good and I especially like how the kiwi face turned out (which I used Substance Designer to create – but I’ll create a separate blog article to focus on that).
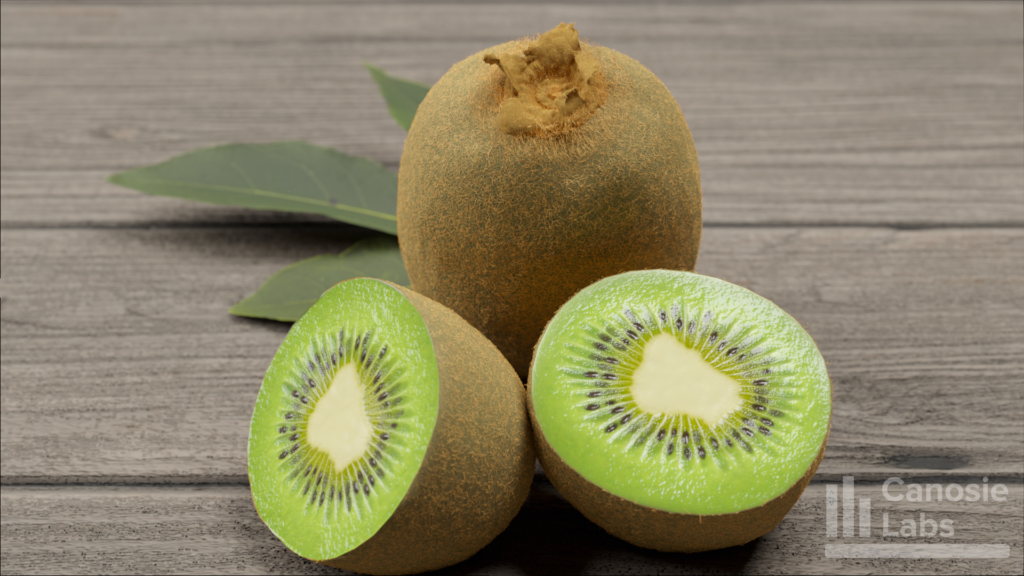
Kiwifruit very greatly depending on the reference images used, so I think there is no ‘perfect’ shape. What is important is that a kiwi is not really egged shaped with points tapering inwards, but closer to a rectangle with rounded edges. I find too many kiwi models available for sale are too egged shaped.
In addition, the stem, pastels, and other bits of detail that are on the ends make or break the photorealism. Attempting to create that much detail with a single mesh (by extruding out from the original body) was just too difficult. It was much easier to create them as separate objects place them on the kiwi body.
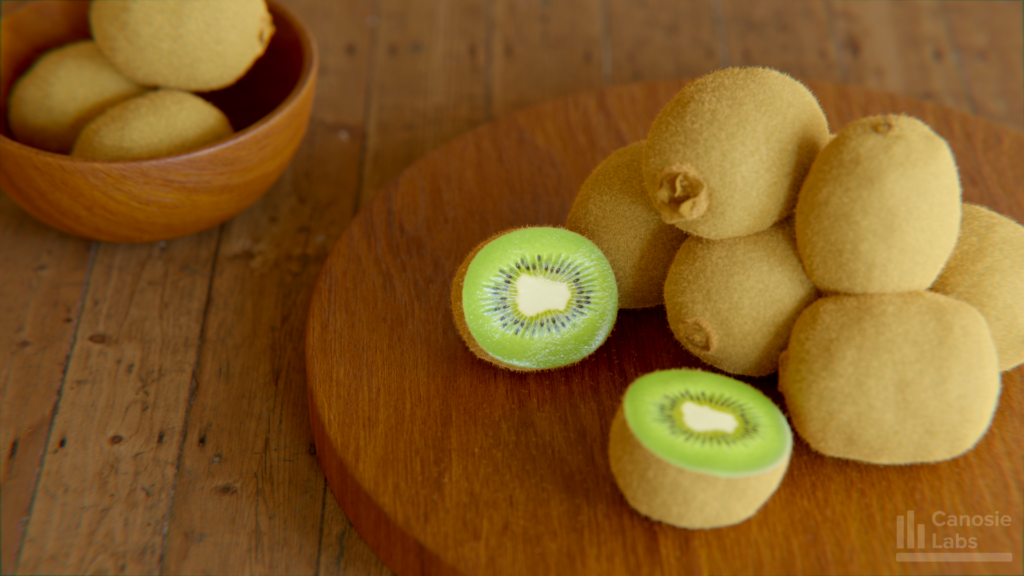
It also allows you to create a greater variation of kiwis in case you are rendering more than one.
Materials I’ve made available include:
- The skin and stem material
- The light brown hair and dark stigma hair materials
- Stay tuned regarding the face material. It’s not yet available to download.
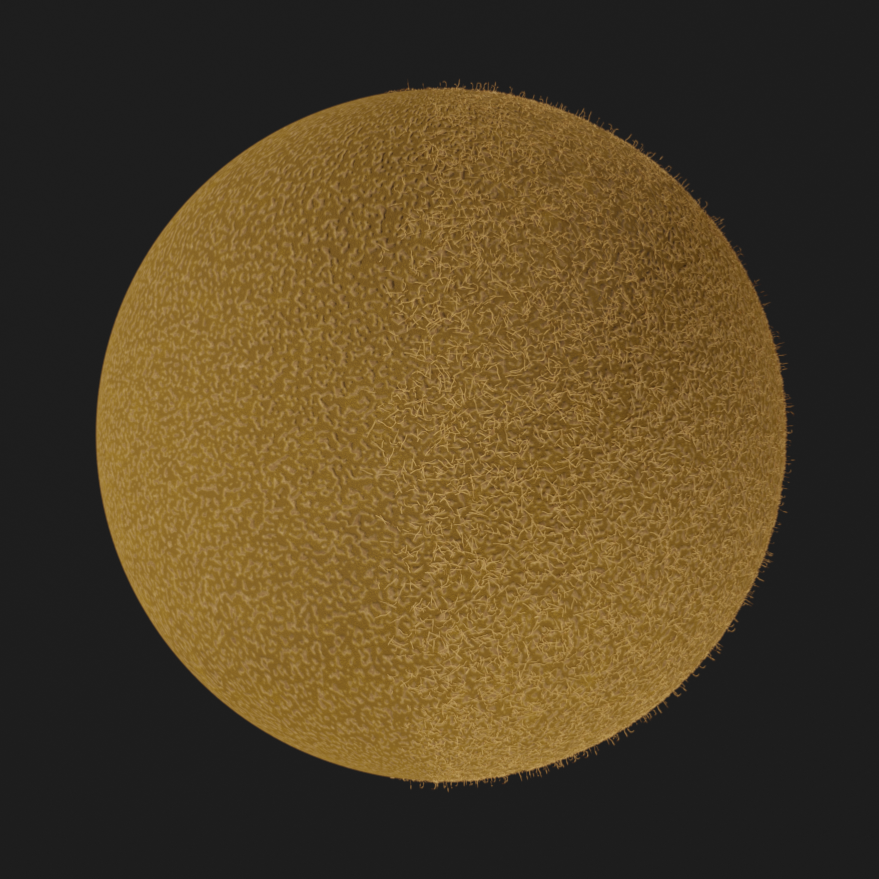
| Kiwi Skin (download) | ||
|
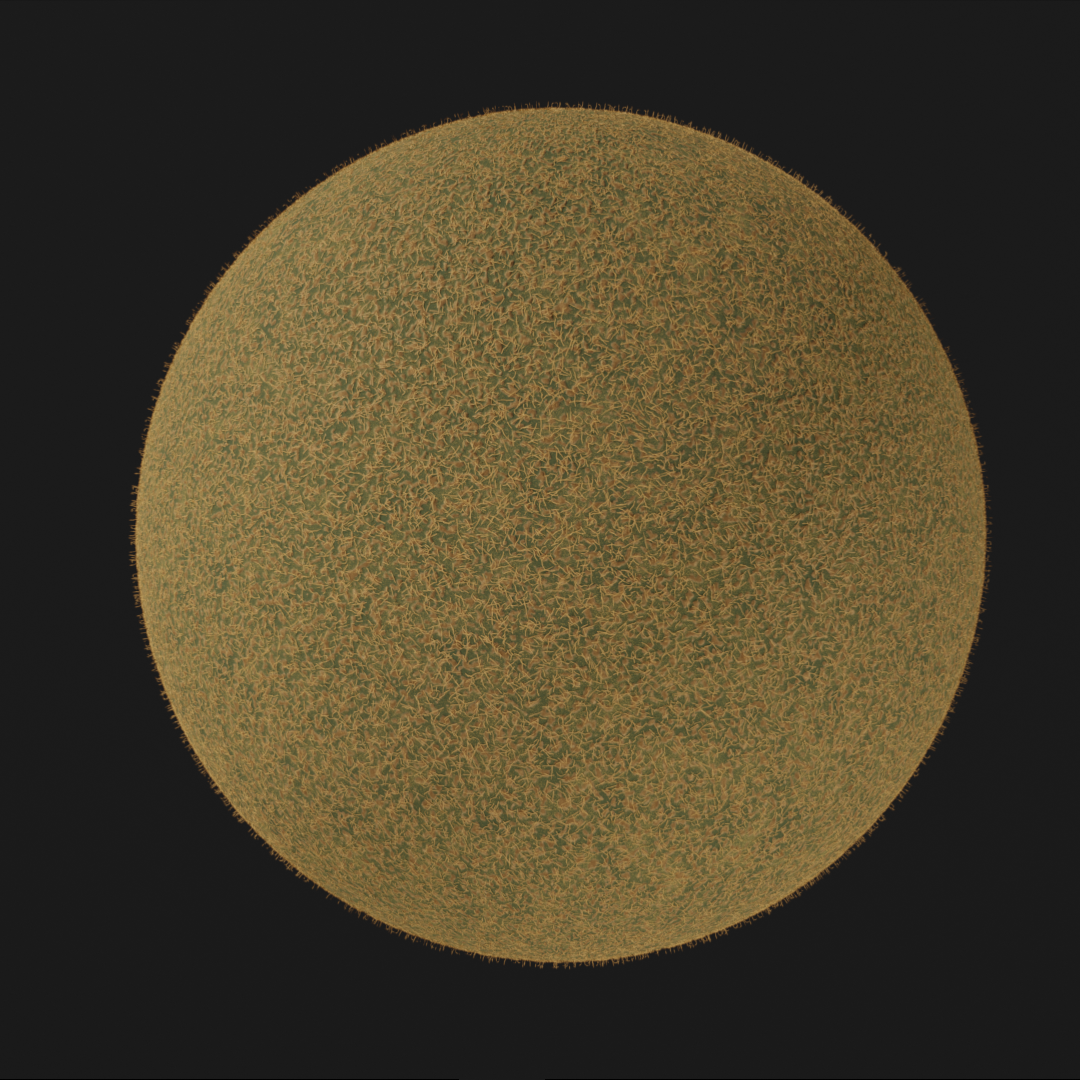
|
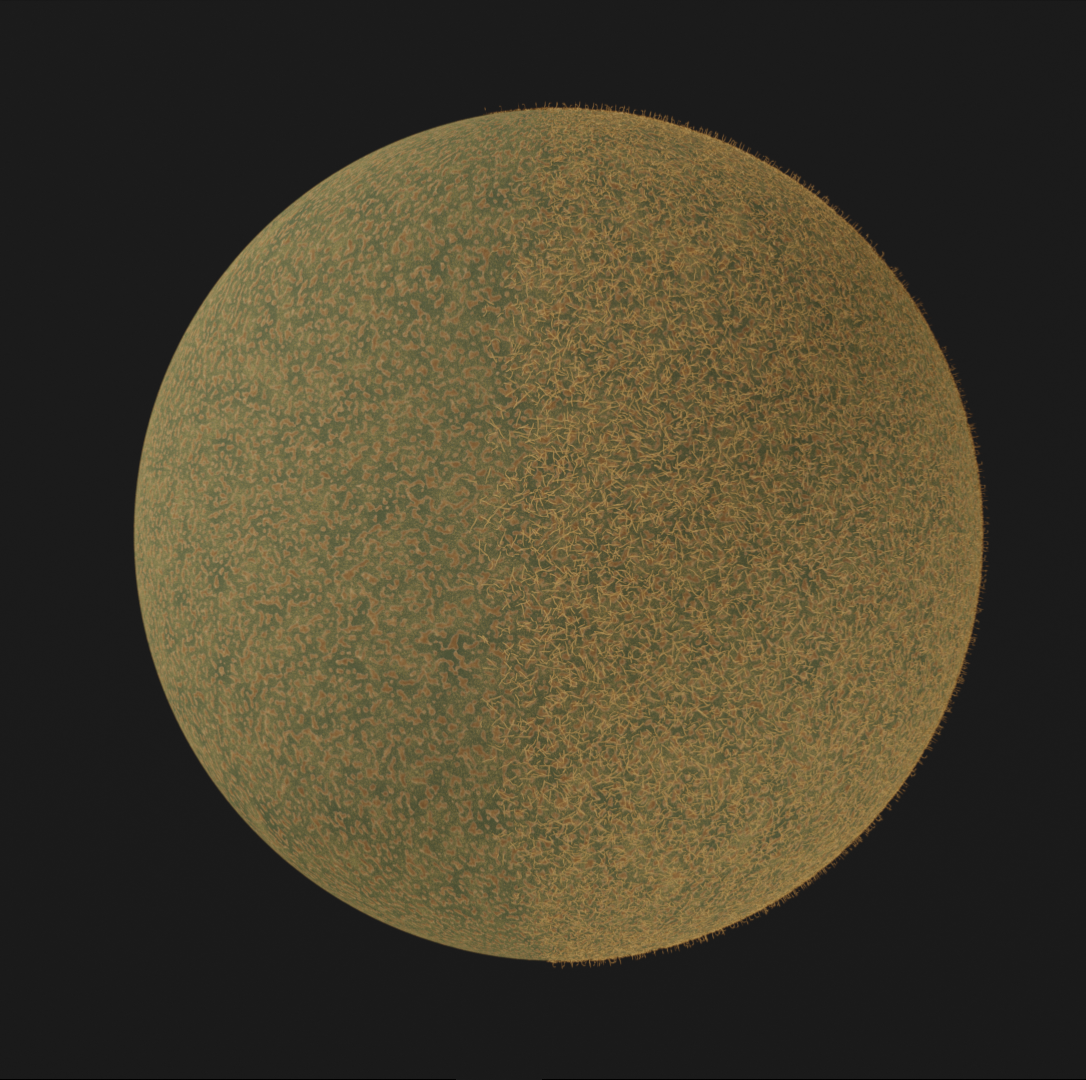
|
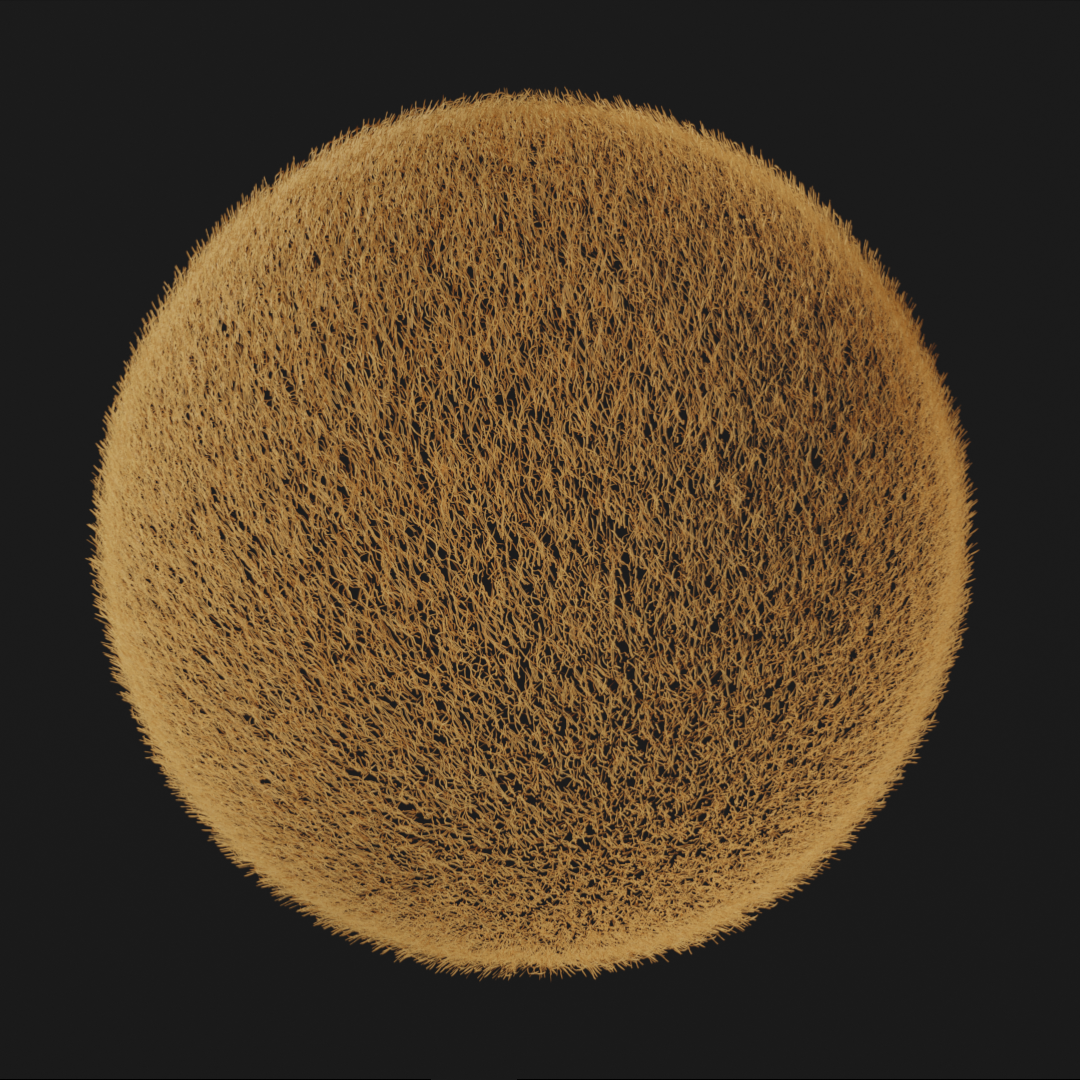
| Kiwi Stem (download) | ||
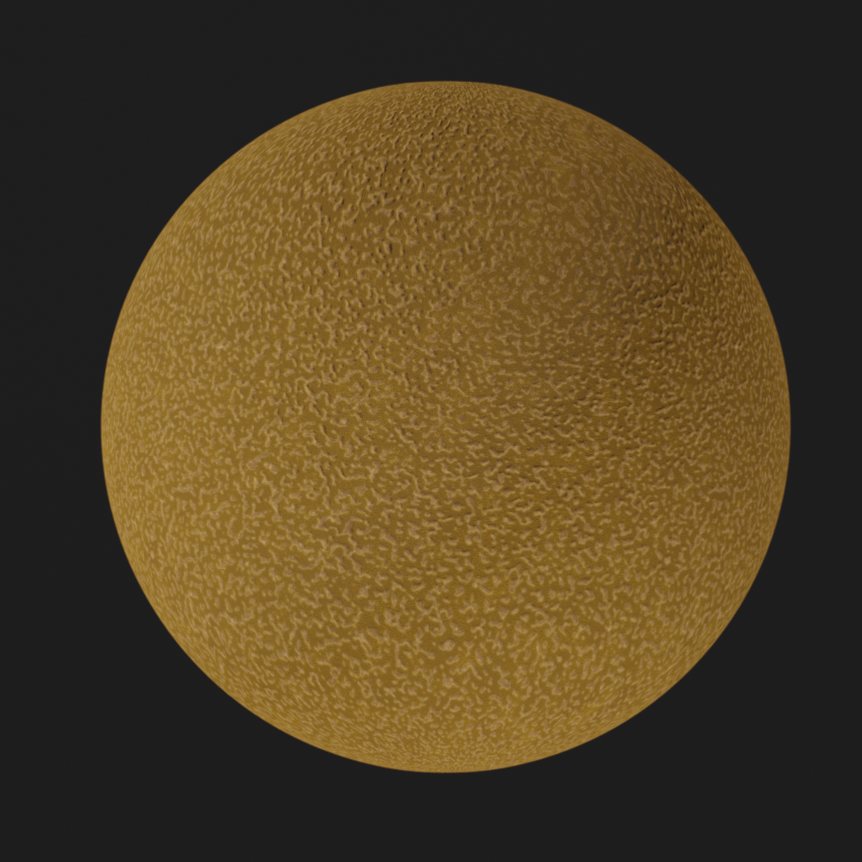
|
|
|
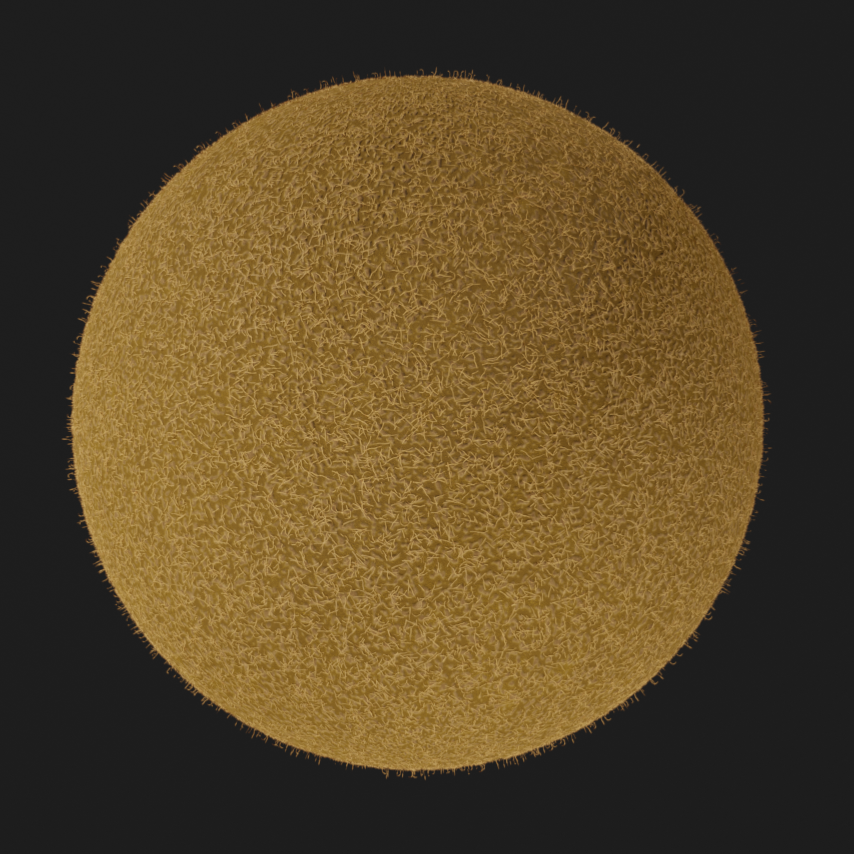
| Hair Materials (download) | ||
|
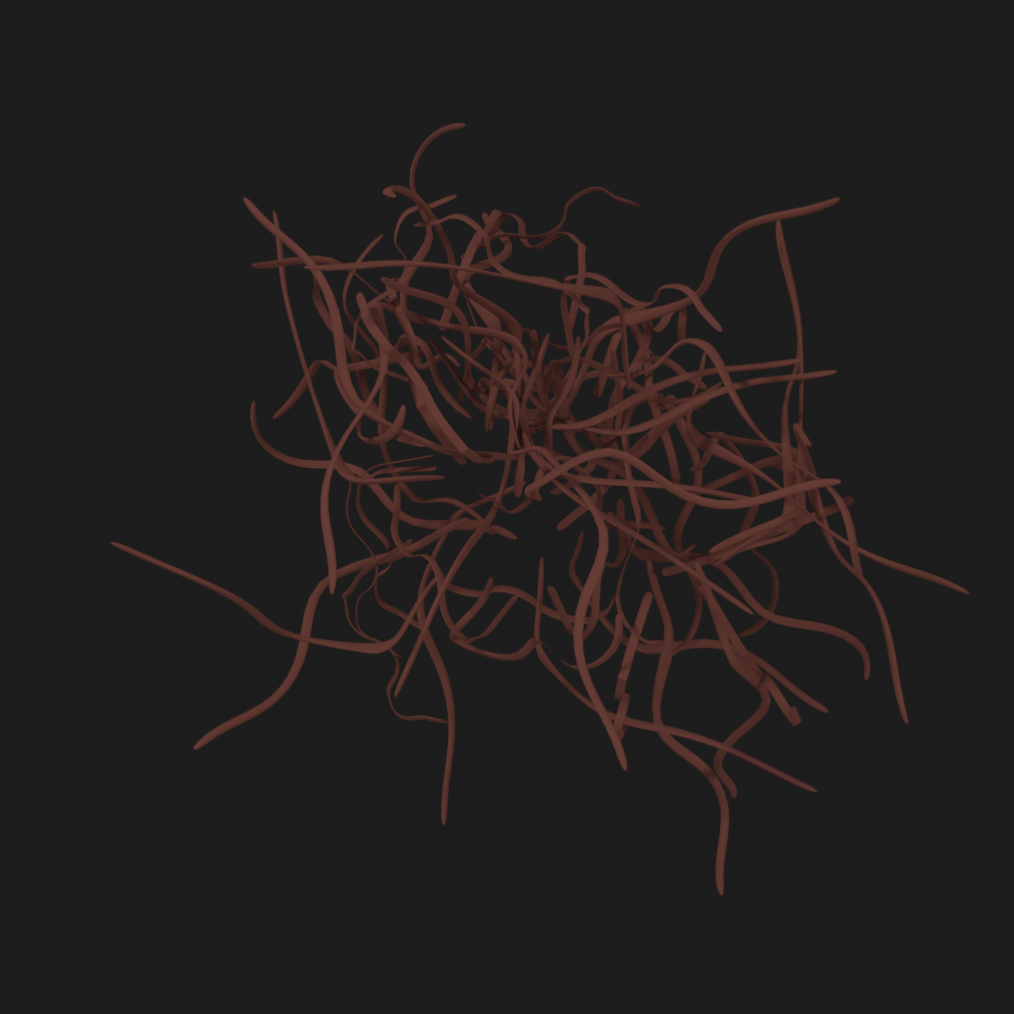
|
|
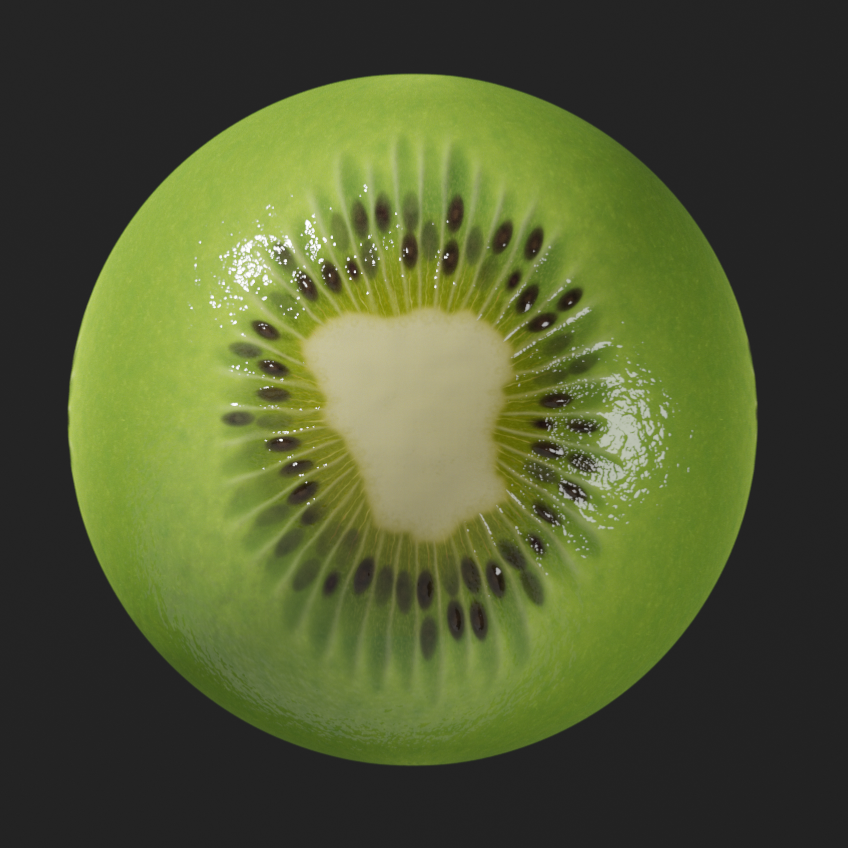
| Kiwi Face and Flesh (stay tuned) | ||
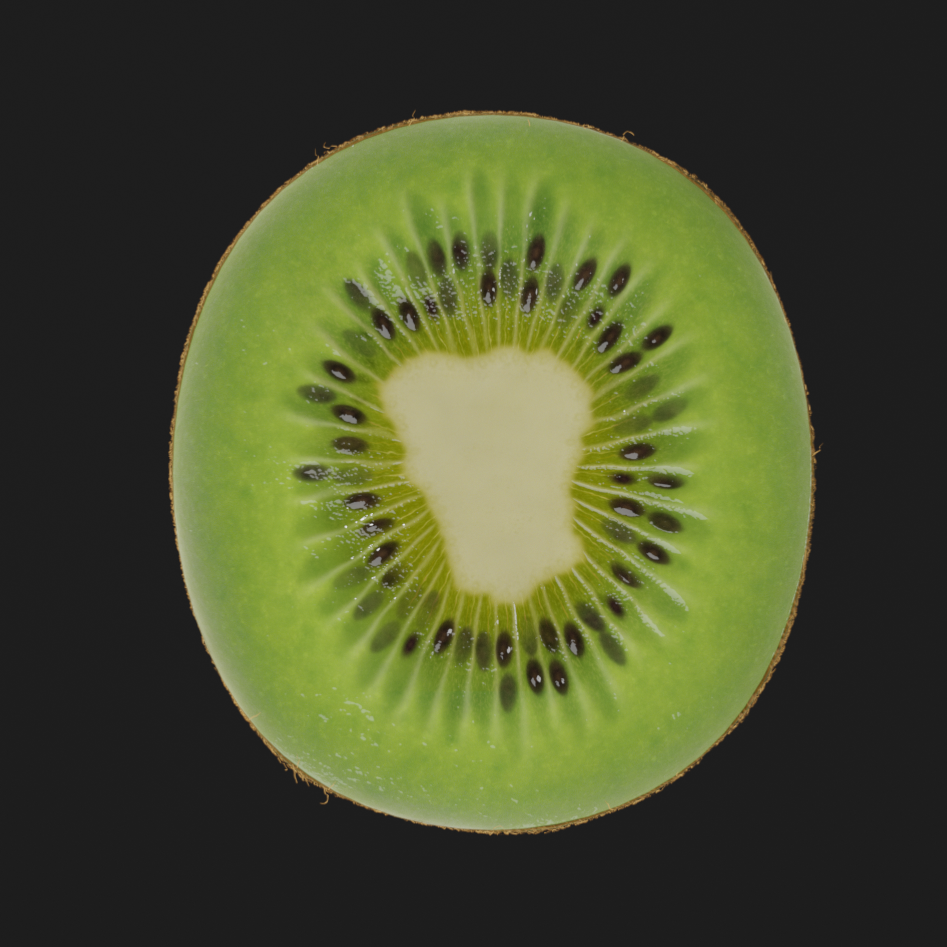
|
|
|
If you want to learn more about how I made the faces, that’s in a separate blog post. Stay tuned for that.