Strawberries With Blender
In this article, I want to talk about some tips relating to my video on making photorealistic strawberries in Blender. This isn’t a step-by-step tutorial but rather I wanted to share some additional tips that I didn’t have time to include in my video. So if you haven’t watched it yet, check it out first.
Why Geometry Nodes
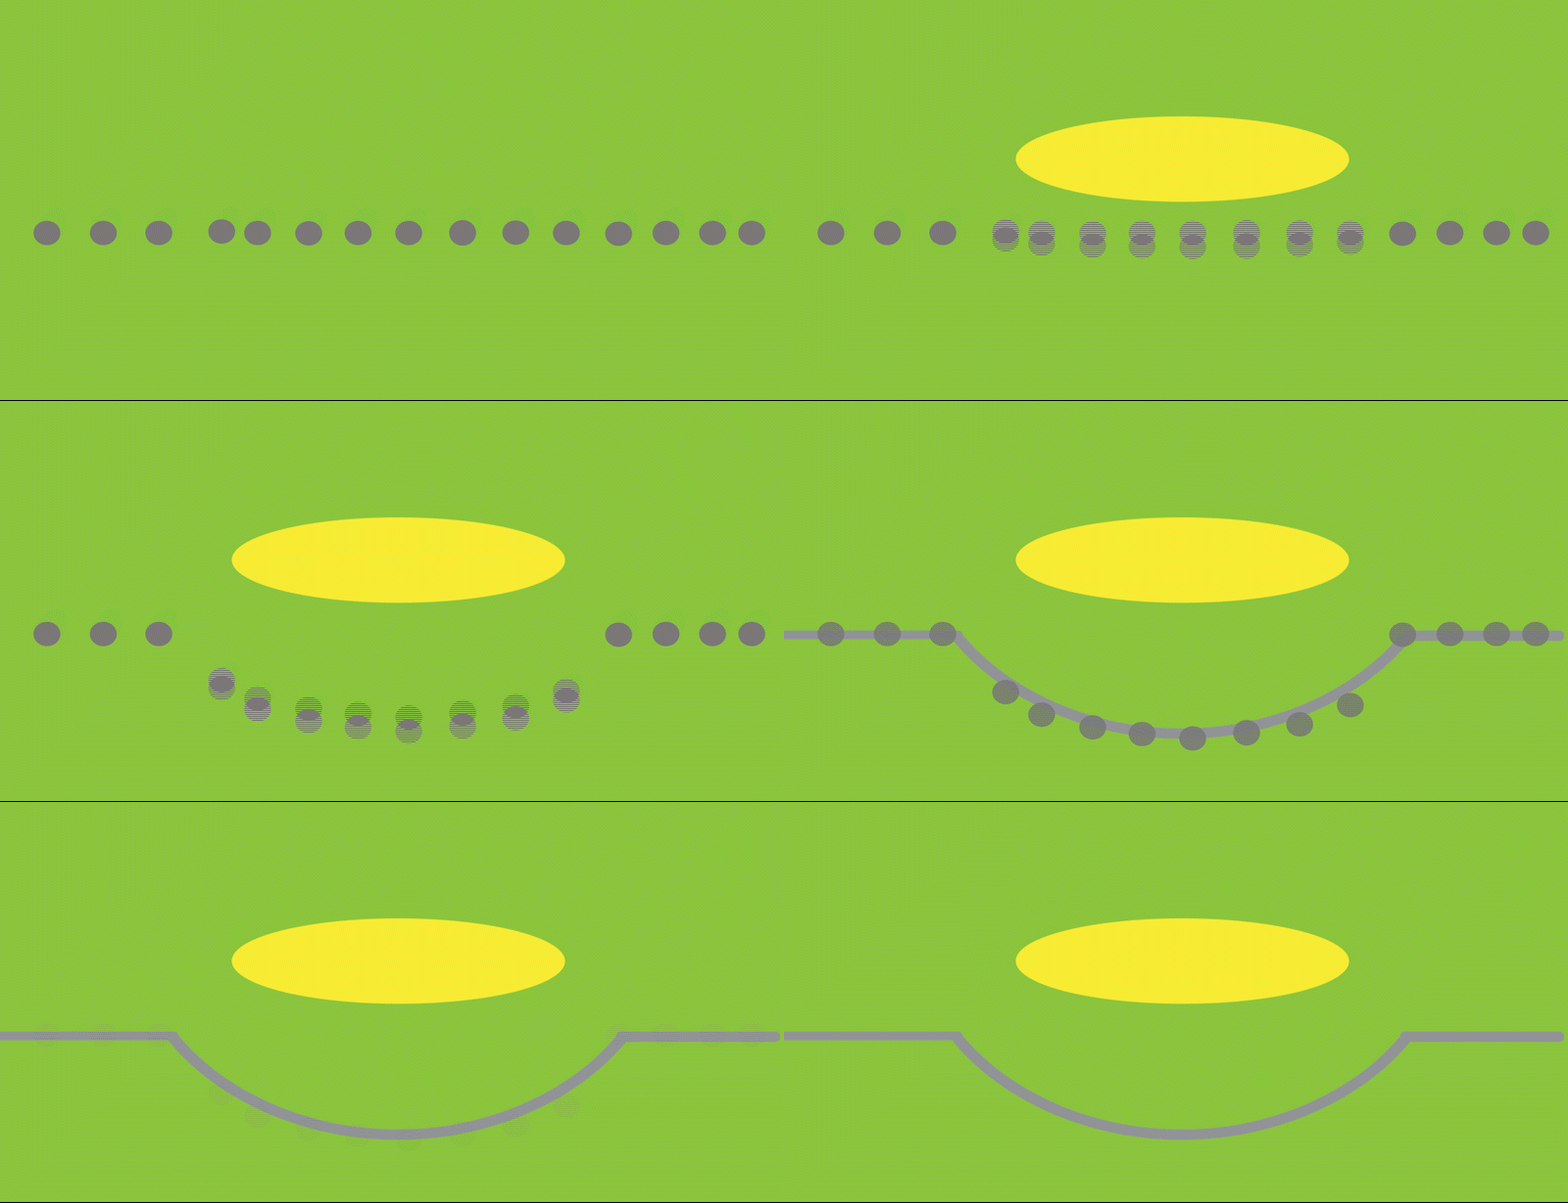
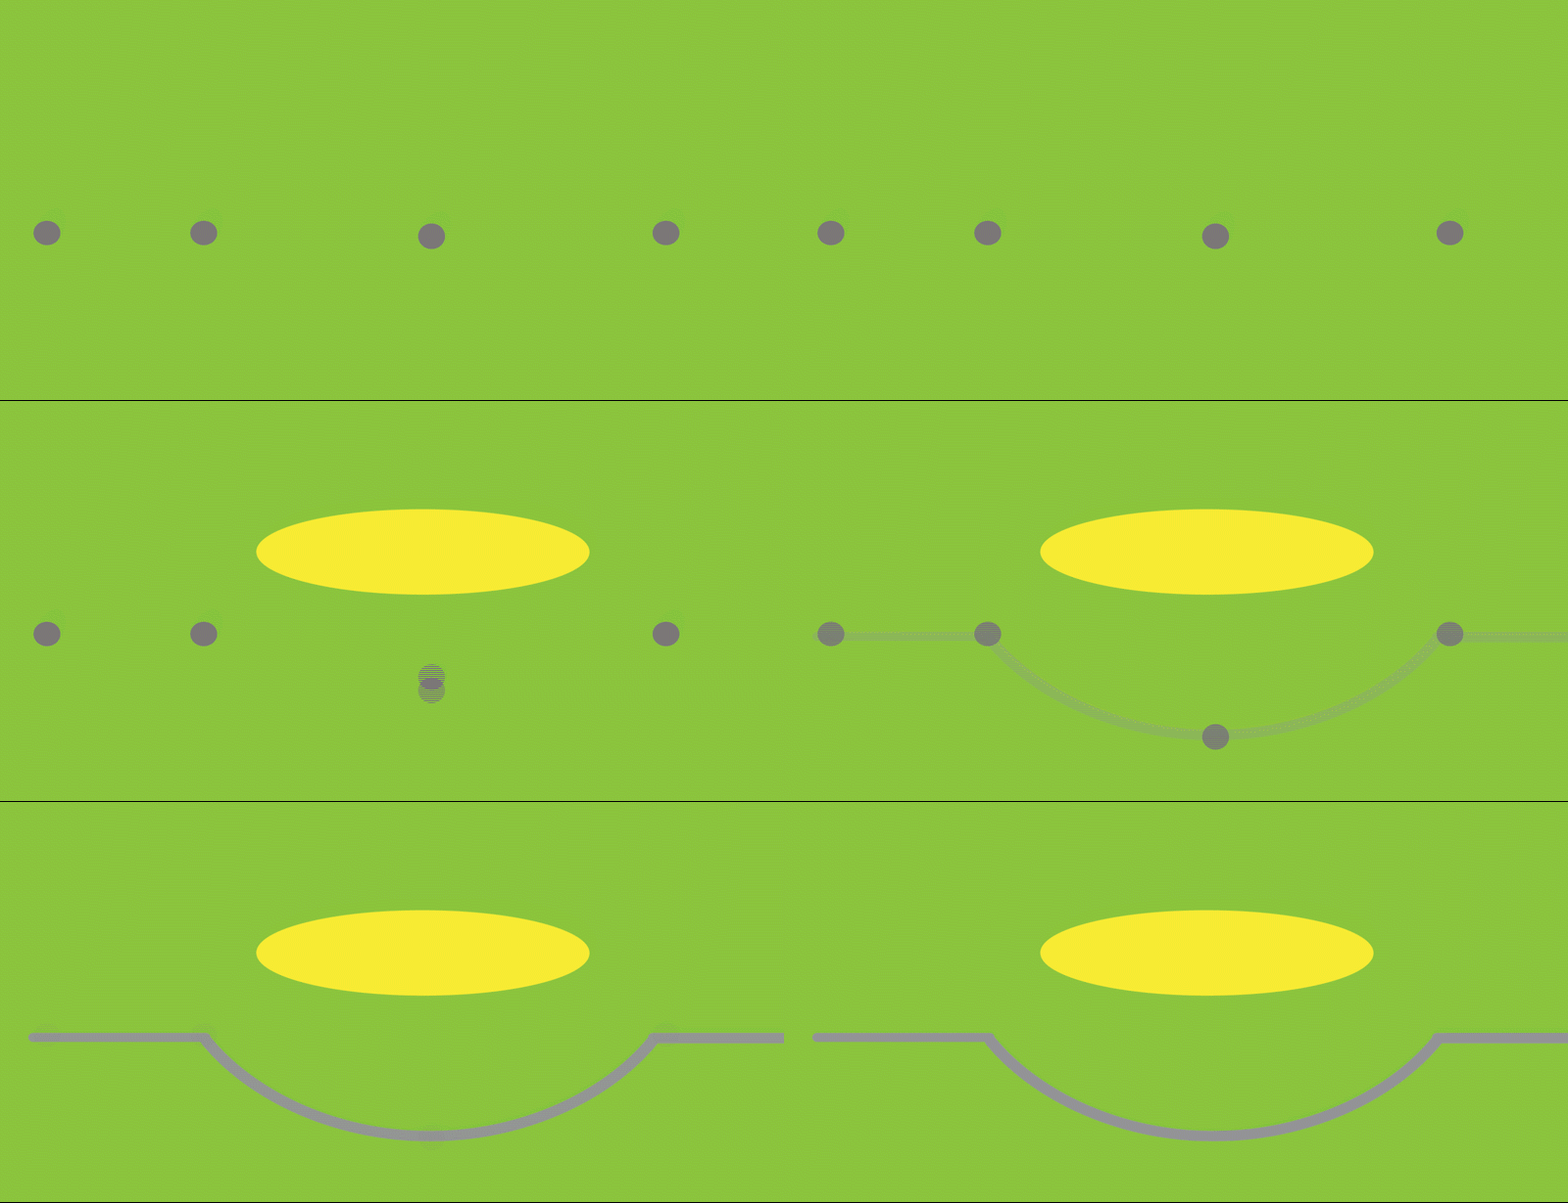
In my strawberry video, I talk about creating Strawberries in Blender. Using geometry nodes is convenient because we can adjust node values easily to distribute both divot templates and seeds across our project procedurally. The important concept is that we need to distribute seeds around our object to create an ambient occlusion map. How we do this is up to us. Geometry nodes makes it fast and easy. However, because we’re distributing seeds randomly across the surface, we need a large amount of vertices to create smooth holes… and that’s where the problem arises.

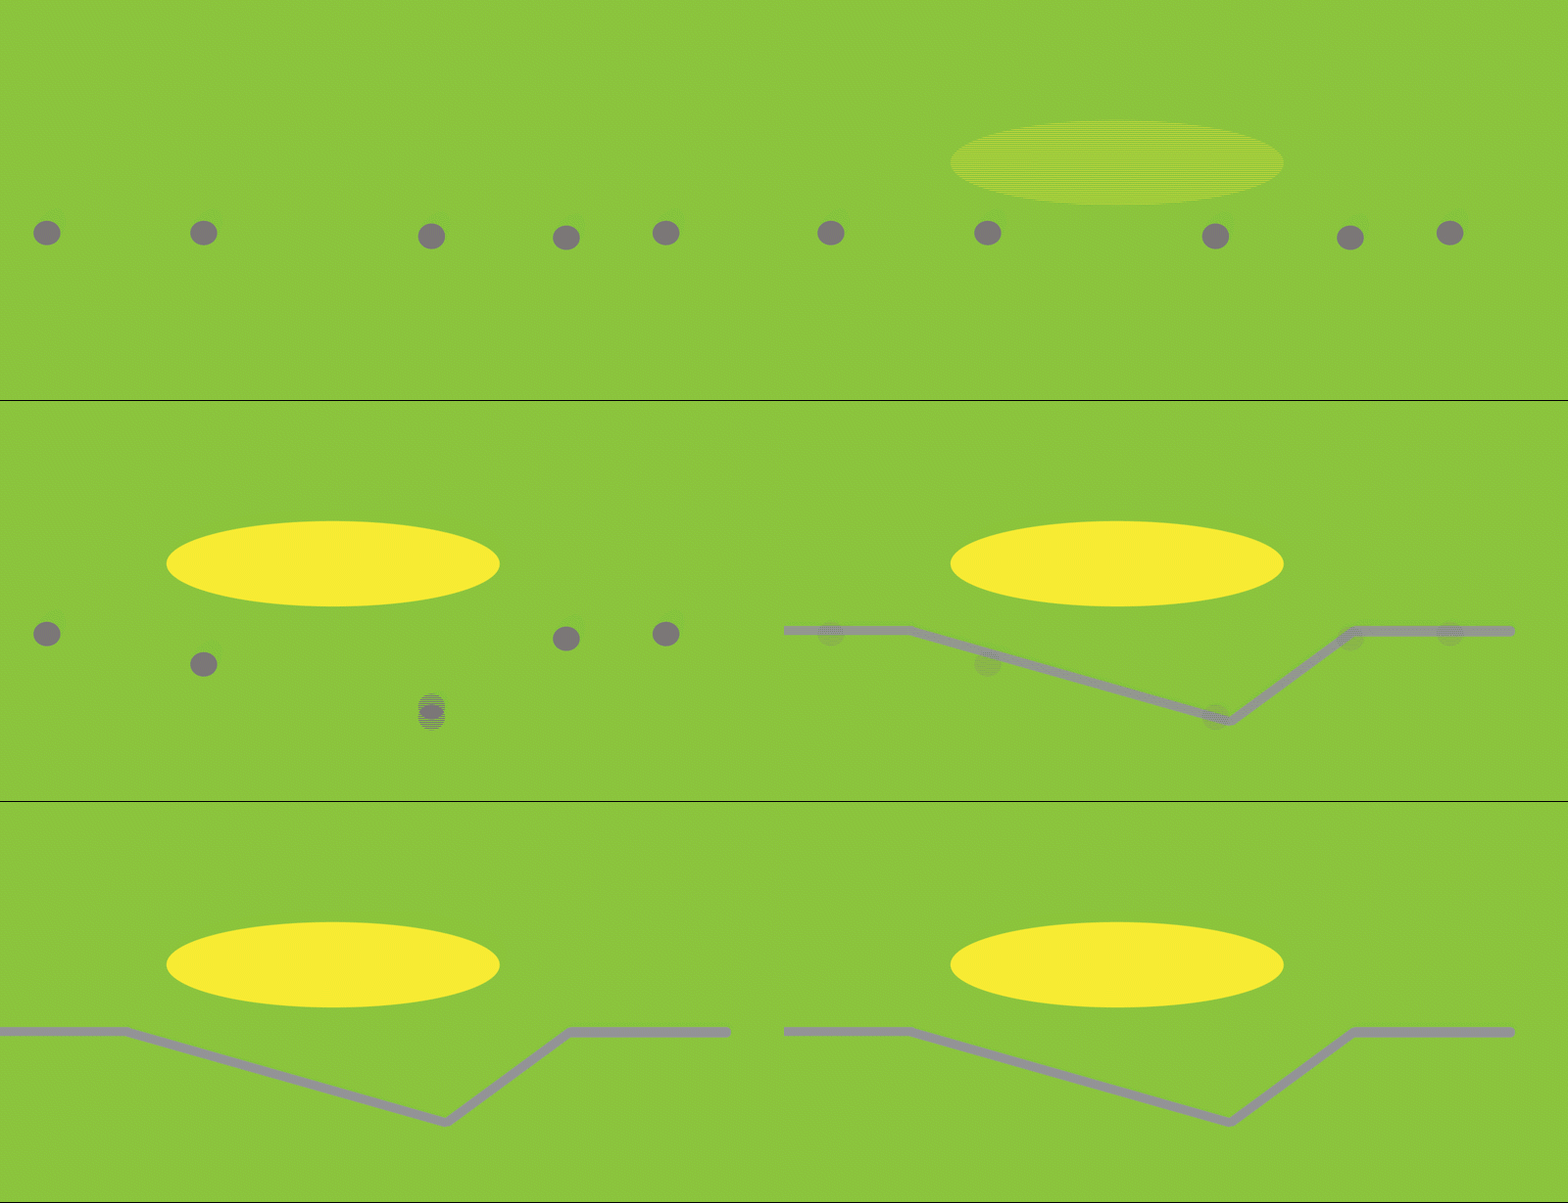
With too few vertices, if the deepest point of the divot does not align with a vertex, we get odd shaped and less pronounced divots.
Why Not Geometry Nodes
The geometry node modifier on a object with such a large mesh causes performance problems and this is especially evident if you try to move the object around your layout. In addition, we are also doing this computation for the backside of the berry which may not be seen in your renders.
If we manually choose which vertices to place divots, we make that vertex the deepest part of the divot, we can create a smooth divot but with less faces. With this, we can reduce the number subdivisions by a 2 or 3 factors. Just group those vertices into a group and use the particle system to create instances on those points instead of geometry nodes.

Particle Systems
The solution to solve performance issues is to make the instances real, which is slightly easier using particle systems. This is specially the case when you are distributing actual seed objects because with particle systems, because each individual object keeps it’s original normal map.
The obvious pain point comes if you need to adjust your seed distribution. Once you make the instances real, there is no going back. Not only will you have to re-generate the AO map, but you will have to go to a backed up version of your object when the particle system has not yet been distributed – and that’s a major pain.
Personally, each time I make a new strawberry, I use geometry nodes to generate first version. Once I get a result I like, I remove the geometry nodes and apply the other modifiers. After I go back and manually distribute seeds on in the divots using particle systems. While the strawberry is still super high ploly, on my system, that’s yet to cause a problem in any of my scenes. The key is to remove the geometry node modifier once you are done with it.
Conclusion
This method requires a lot of trial and error to get the divots to be the right depth In addition, every scene will require a slight different shander subsurface scattering and translucency setup depending on the lighting. That’s why I think it’s not a great method for pure beginners. That being said, I think this produces some really nice results. It does take some tweaking but if you really need close up shots of photorealistic strawberries, I’ve been able to create some real nice renders.
So I hope this gives you some ideas on your projects!
Strawberry Material
If you are following the video and want to download the strawberry shader setup and geometry node setup, you can download them here. No actual berry models here, I just provided the node setup in case something in the video isn’t clear.
https://www.cgtrader.com/free-3d-models/food/fruit/strawberry-material-samples-for-video


